Last Updated on June 10, 2026
Summary✨
- Devices often connect to weaker WiFi networks due to saved connections, leading to poor performance.
- Prioritizing WiFi connections can improve internet speed and stability across devices.
- On Android, turn off Auto Reconnect; on iPhone, disable Auto-Join to manage network preferences.
- Consider using a Mesh WiFi system for better performance in larger areas and seamless coverage.
- For Windows and MacOS, use commands or settings to prioritize your preferred networks manually.
When your home or office has more than one WiFi network, it’s possible that your phone or laptop keeps connecting to the same WiFi network even when a stronger network is available. It leads to a drop in internet performance, lags, and even disconnection in the middle of your browsing and watching videos. If you have been in this position, there’s a way to fix it so that your device connects to the strongest WiFi signal available near you. This post guides you on how you can adjust your WiFi settings to let it connect to the best WiFi nearby.
Again, around the problem. Devices connecting to a weaker WiFi come from having many networks saved on it. For instance, you go to a café nearby and use the WiFi there. Once returning home, your phone or laptop is still connecting to it, but the performance is nowhere near the level it had because you are many meters away from the café’s main router.

Table of contents
What you can do is prioritize networks on your device in a way that your phone, tablet, or laptop chooses the best WiFi signal available nearby to deliver you the best performance.
Solution to WiFi connecting to weaker networks
If your phone or any other device keeps connecting to a weaker network, you need to change settings so that it prioritizes connection to the strongest signal. It’s possible on smartphones, tablets, and computers (both Windows and Macs). We have details below.
Android: Turn off Auto Reconnect
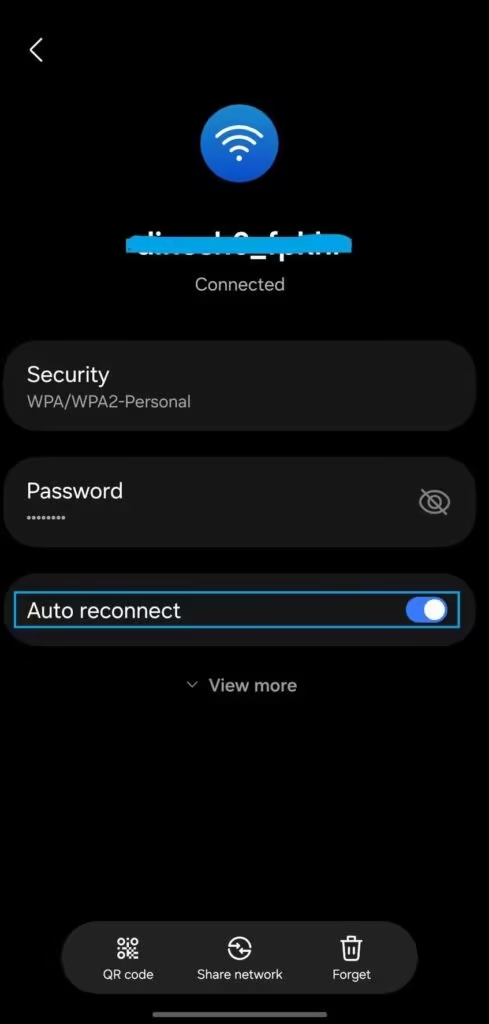
Here’s how you can turn off auto-reconnect on Android to prevent your phone from connecting to a network.
- Go to Connections > WiFi
- Tap on the Gear icon next to a WiFi network
- Tap on Auto Reconnect to turn the feature off
Now, even when your phone is within the reach of your Android phone, it won’t connect to it automatically. Don’t worry, though. The WiFi password remains saved on the phone, and you can manually connect to it whenever within the coverage of the network.
You can also forget the WiFi network if you don’t want it on your phone.
✅ How to Share Your WiFi Password with a QR Code?
iPhone: Disable Auto-Join
If you are an iPhone user, then you can turn off Auto Join to refrain from being automatically hooked to a particular WiFi. Follow these steps to reset priority on iPhone:
- Go to Settings > WiFi
- Tap the “i” icon to the WiFi’s name
- Toggle Auto Join off
This doesn’t delete the WiFi from your phone, laptop, or tablet. The password is still saved, but it won’t automatically join the network when available. This means you need to manually connect to it when you are on the move.
You can forget the network, too, but that will remove the password, too. And if the network gets hidden by the owner, you will have to input the password again.
✔️Automatic network switch between Wifi and mobile data
Use a Mesh Network
For large houses, apartments, and offices, it’s common to see a WiFi repeater or extender being used. It obviously has benefits in that it extends the coverage of the WiFi network from the main router, to a wider area. However, it also might keep your device connected to the extended SSID instead of the main router. So, when you are close to the main router, but your device is on the extended WiFi network, the performance is likely to be hit. It’s a similar case with a secondary router setup.
But you can prioritize your WiFi network and ensure you get the best performance out of your paid WiFi system. However, if you are someone who is often on the move, it needs more than just making some changes like turning off auto-rejoin.
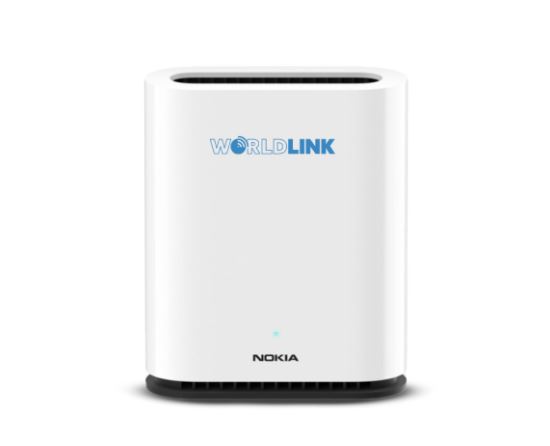
Enter the Mesh WiFi system. Unlike repeaters, a mesh system comes with multiple nodes that route the traffic across them. Each node serves as the extended but fully capable part of the same WiFi network. As a result, the device gets the best performance possible whenever they are connected to the same WiFi.
A mesh WiFi system is a bit costly, and Top ISPs in Nepal, such as WorldLink, provide this service. It’s worth the money if you don’t want any compromise on your WiFi performance across a larger area.
Windows: Prioritize WiFi via Command Prompt
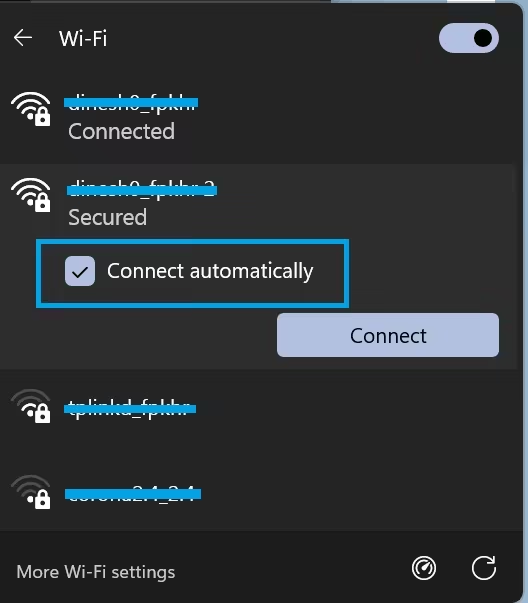
For Windows computers, you can actually prioritize which WiFi connections automatically connect when available. For this, you can click on the WiFi network and turn on “Connect automatically” from the taskbar. Once activated, the computer will connect to the network whenever available. But on the flipside, if you don’t want to connect to this network, you can uncheck the “Connect automatically” option or forget the network to remove its password as well. The option is available when you are not on the network.
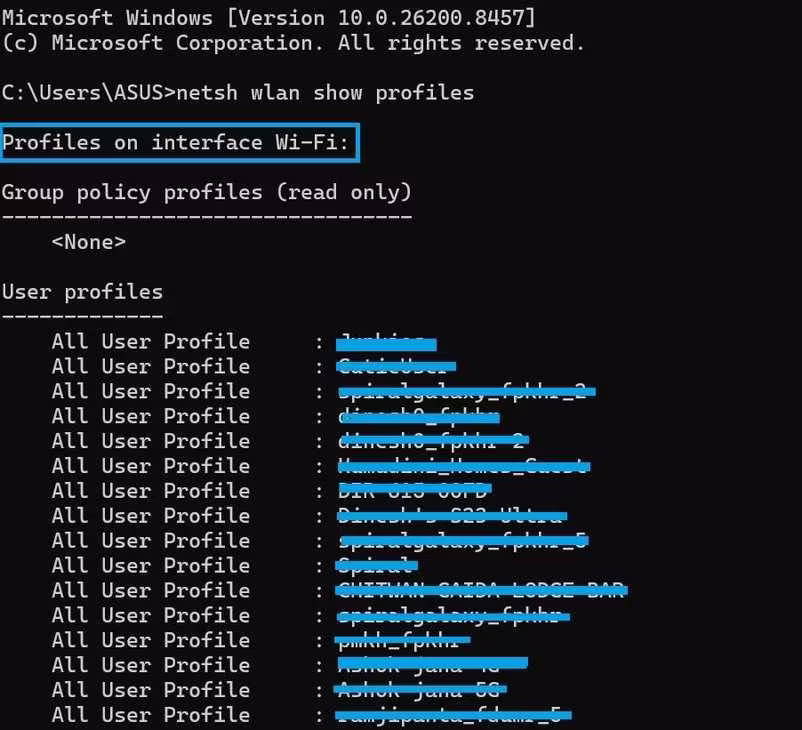
Also, you can use the Command Prompt to set the priority of the WiFi network to connect automatically to the best WiFi possible. Open the Start menu, enter Command Prompt or CMD, and run the command netsh wlan show profiles. Now, you see the list of WiFi networks the computer is connected to in order of priority. The one on the top is prioritized.
You can change your computer’s WiFi priority list through the command netsh wlan set profileorder name=”NETWORKNAME” interface=”INTERFACENAME” priority=NUMBER
In the place of NETWORKNAME, you write the name of the network of your choice, and in the place of INTERFACENAME, write Wi-Fi priority=1. You can easily see the name of the interface on the CMD interface. It is most often Wi-Fi.
Now, run the first command to see the priority list of the WiFi networks to ensure that you have made the changes. After this, the WiFi you have set at the top will connect to the WiFi first whenever it’s available.
⏩The best place to put your WiFi router at home and get best performance
MacOS: Drag and Drop WiFi networks
It’s likely that most Mac users are now on Ventura or higher versions. So, to change the WiFi priority setting, you need to click System Settings > Wi-Fi, click the three-dot menu, and choose Autojoin to decide whether you want the network to join automatically or not. You can likewise remove them from the list or completely forget the network on your machine.
But if you are on macOS Monterey or an older system, head over to System Preferences and click the Network option to get the WiFi network list. Depending on your choice, you can set a WiFi network to Automatically join this network or not.
Similarly, you can click Advanced > Wi-Fi to see all the networks saved on your computer. You can toggle off Auto-Join to prevent your Mac from joining them itself. If you choose, you can also remove the network from your device.
👉See Who Are Using Your WiFi: Top 5 Ways to Check with Steps
We hope this article has been very helpful for you with information on setting WiFi priority. For any curiosity, let us know in the comments below.
Check out some of the frequently asked questions on WiFi network priority settings.
FAQs on how to set WiFi network priority
Your phone may automatically connect to a previously saved WiFi network even if the signal is weak. This happens because the device remembers the network and tries to reconnect whenever it becomes available.
On Android, go to Settings > Connections > WiFi, tap the gear icon beside the network, and turn off Auto Reconnect.
Go to Settings > WiFi, tap the “i” icon next to the network name, and disable Auto-Join.
Windows users can prioritize WiFi networks using the Command Prompt with the netsh wlan set profileorder command.
Generally, yes. Mesh systems provide smoother connectivity and better roaming between nodes, while repeaters may sometimes keep devices connected to weaker extended signals.
Your device may be connected to a weak signal or an overcrowded network. Switching to a stronger WiFi signal or using a mesh system can improve performance.